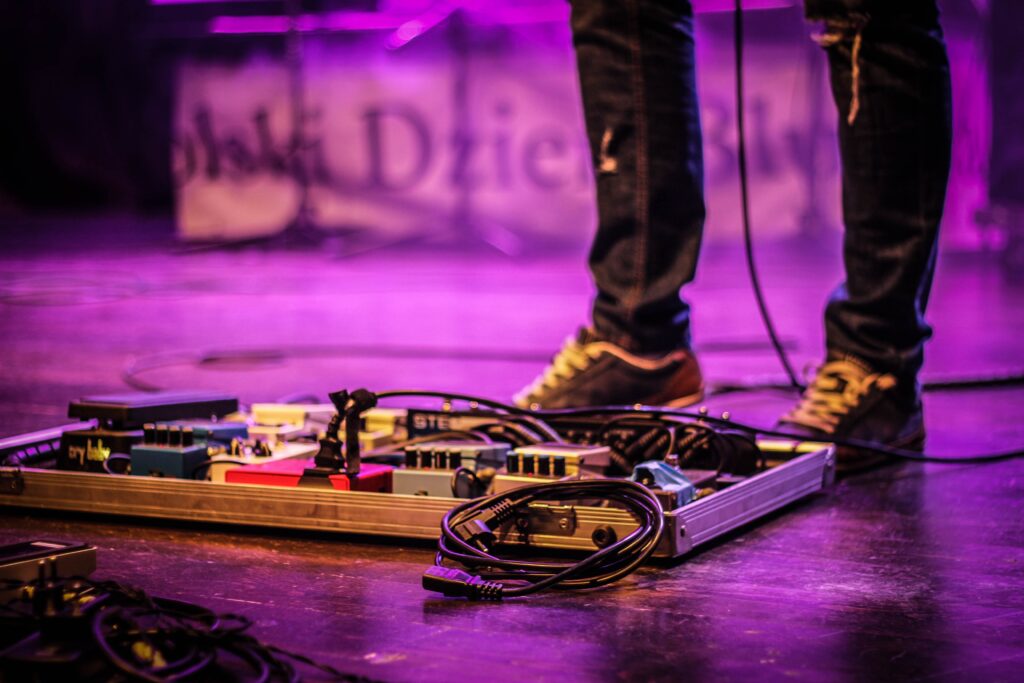
When asking yourself about how to connect guitar pedals up, you may be doing one of a few things. For sure, you’re likely running them into each other, but you could also be powering them or running midi capabilities. We all have to learn this stuff to even get the most basic of tones, so here is our quick guide just to make things a little bit easier.
Basics
Running a basic signal is fairly simple but there are some rules to bear in mind. You will need instrument mono cables just like those connecting your guitar to your amp. If you have a single pedal solution like our Rumble Seat, then one cable to the pedal and one from the pedal to the input of the amp is fine. If you’re using more than one pedal, then you’ll need patch cables, which are essentially short instrument cables. Patch cables come in many forms but the two main types are:
– Soldered – pre-made with soldered parts
– Solderless DIY – cut to length and held with a tiny screw.
Beginners only need the pre-made type. Note that very cheap cables provide little shielding from external radio signals. With that said, a good set of patch cables can be found at good prices and there is little evidence supporting the use of extremely expensive patch cables. Generally speaking, 99.9% of pedals have their inputs on the right and outputs on the left. See our blog about pedal order here for more information on this.
Power Cables
Powering your pedals breaks down to either batteries or power supplies. Since batteries go inside the pedals, we’ll concentrate on power cables & power supplies here. This is even simpler than the patch cables since, although there are DIY power cables on the market, not many people use them.
Most power supplies actually come with a bunch of power cables too, which are generally of decent quality. Since no musical signal runs through them, the need for the highest quality is lessened even further. We have an entire blog dedicated to how to power pedals which you can read here for further information. All you need to do is make sure to provide the correct power required by the specific pedal, if you’re unsure check the power blog.
FX loops
FX loops are interesting but sometimes confusing for beginners and experienced players alike. The same advice seen in the patch cable section applies here. However, you must decide where the pedal will sit. If it’s on top of the amp, like a reverb pedal, for example, make sure your patch cables reach comfortably because it’s super easy to drop your pedal if they do not. If it‘s on the floor, you’ll need two extra-long cables to reach the amp.
Either way, you’ll still need to power the pedal, so a battery could be your pal here for amp stationed pedals. From the amp’s fx loop, connect the send to the pedal’s input and the return to the pedal’s output.
Expression & Volume
Expression pedals often need just a single TRS (stereo) instrument cable. These can be found by using the term TRS, which stands for Tip, Ring, Sleeve. Most of your instrument cables will not have the ring part on the connector, making them TS cables (mono). These will not work for expression pedals. Run your expression cable into the EXP input of the pedal and follow the pedal’s specific guide, as each pedal works differently.
Volume pedals run inline just like any other pedal however many do not require power, which is nice.
Midi
If you’re using midi, then it’s assumed that you’ve been using pedals for some time. If not, then you’re very brave. Good luck!
There are a few different types of midi connectors today. The traditional:
5 pin midi din.
6.35mm TRS (normal instrument cable size)
3.5mm TRS (headphone size)
The difficulty comes in mixing these types. There are many adaptors on the market, but some of these are very bulky and can make a tidy board very untidy quickly. Under-board, midi adapter boxes can be found, which are made by companies such as Chase Bliss Audio and many others.
Midi cables do not need to be run in any specific order as you internally set the RC number within the pedal, which acts as an address. Only the midi messages with the = correct address arrive at that pedal. All others pass straight through. We will cover midi and pedal loop switching further in another blog as it’s an extremely deep topic which deserves it.
We hope this guide has helped you. Good luck.

